How are your shutters looking? Are they a bit faded? Is it time to give them some tender loving care? Many individuals don’t realize that shutters can be painted. It’s true! The paint will reduce some of the wear and tear and help your shutters last longer. Learn how to paint your shutters today with this truncated, step-by-step tutorial. Get to work!
Do you have Plastic, Metal, or Wooden Shutters?
The shutters I have are made from what kind of material? This is the first thing you must ask yourself. Accordingly, you must use different types of paint and different methods depending on the shutter material. Decide what type of material your shutters are made from before buying tools or shopping for paint. Wood, vinyl, or plastic are all options. In this tutorial, we’ll be painting PLASTIC SHUTTERS.
Are you in a Position to Completely REMOVE the Shutters?
When you remove your old shutters, it can speed up the whole process, though it is not always necessary. Although it may be difficult to remove and reinstall the shutters, the painting process is much faster and easier once the shutters are off. That’s your decision.
PLASTIC SHUTTERS
ON or OFF?
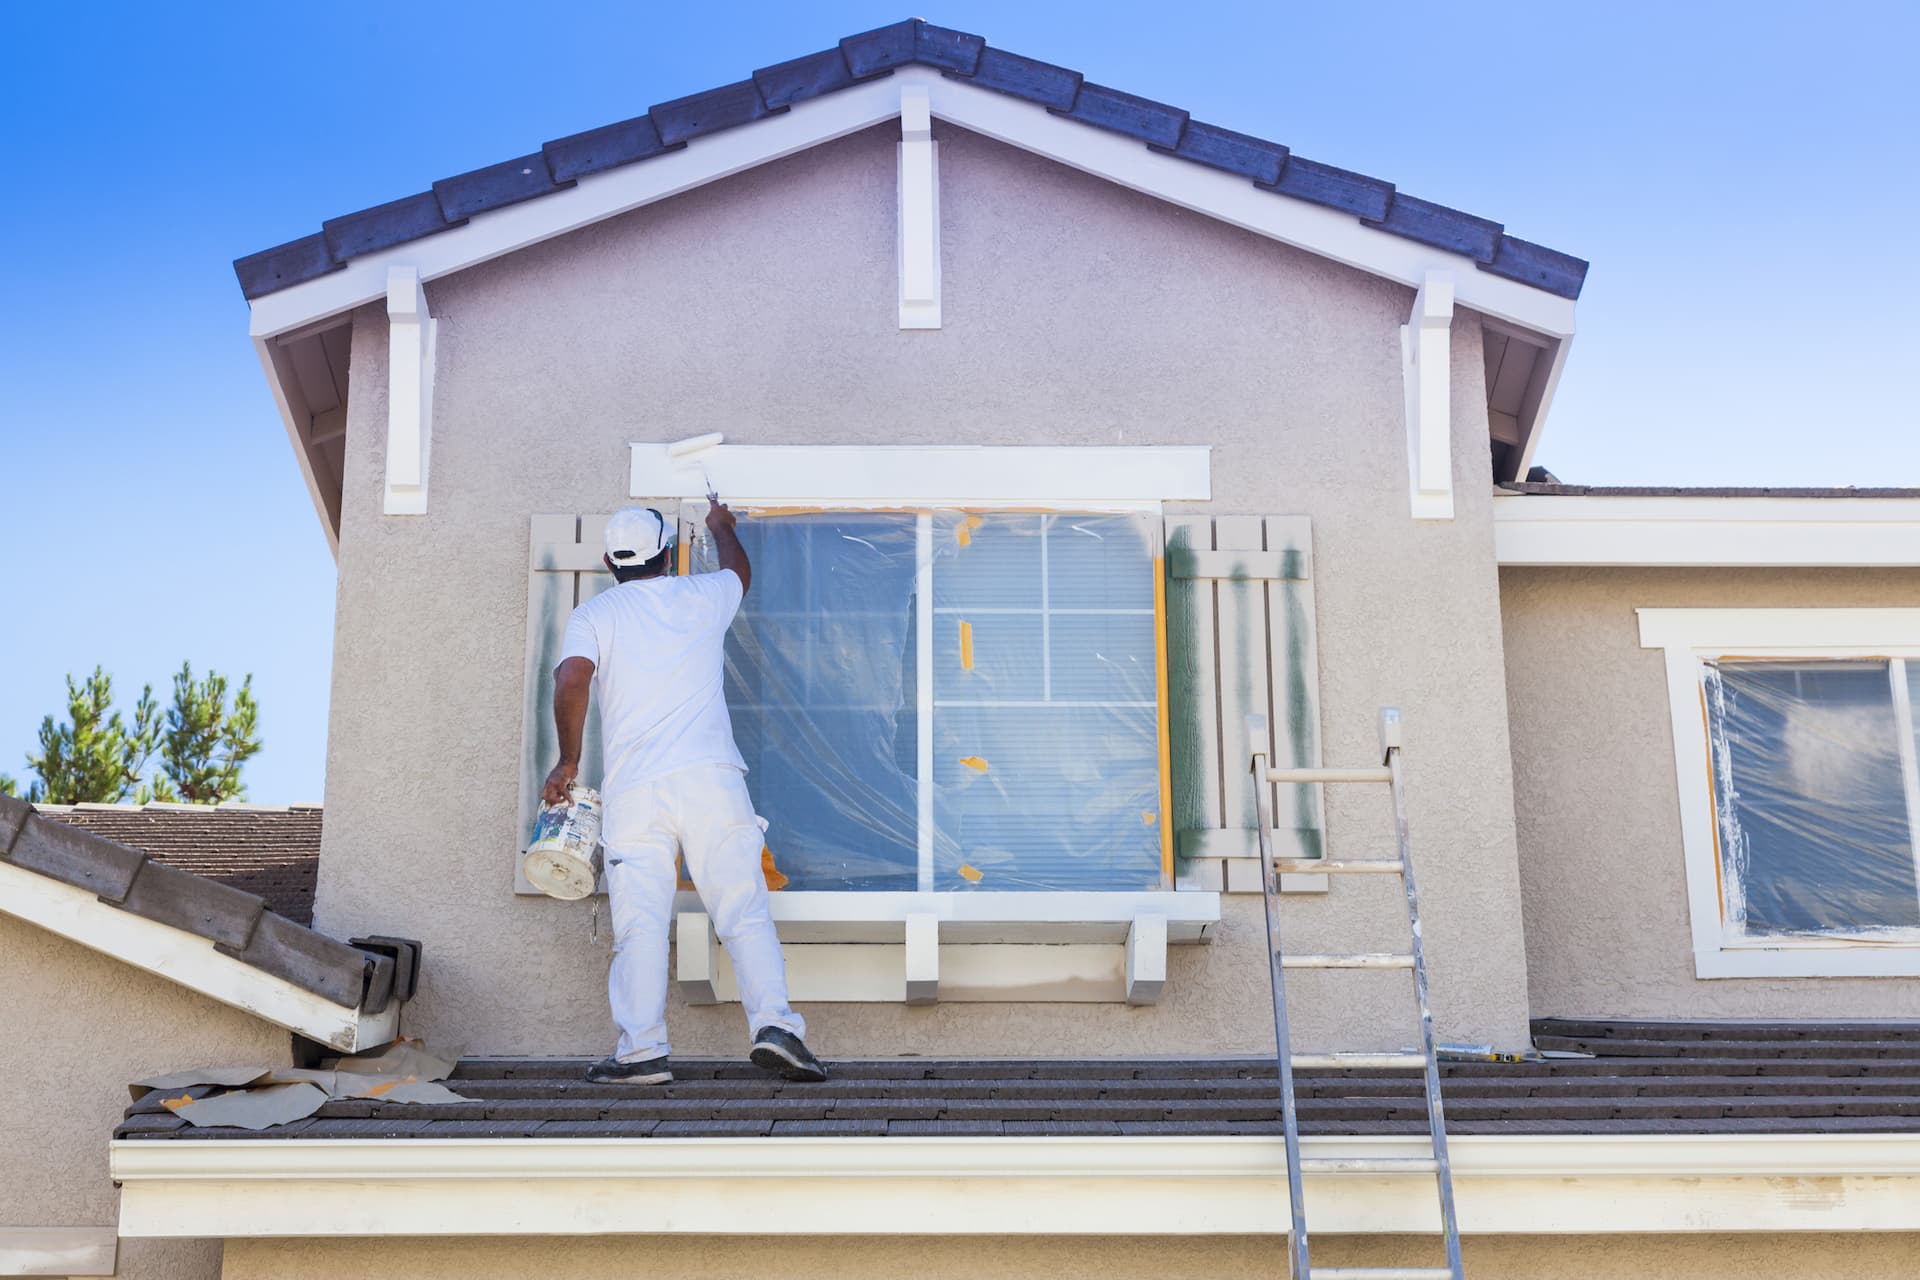
You have come to the right place if you have plastic shutters! Before painting, preparation plays a crucial role. It’s important to decide in advance whether you would like to remove the shutters or keep them and paint the house directly; if you keep them, you will need to mask off any areas that you do not want painted. The long-term advantages of unscrewing shutters on a second (or third, etc.) story and painting them separately are greater.
Shutter Preparation
Before painting something (in this case, shutters), it’s critical to prepare the surface; otherwise, the paint job will look unpleasant (and could even crack and/or peel off later).
Have you Decided on Paint?
Although there is an almost infinite range of colors available for painting your shutters, the best option for exterior plastic shutters is latex paint.
PAINTING YOUR PLASTIC SHUTTERS
Don’t rush the procedure; instead, take your time and tackle the project slowly and methodically.
- Mix your paint, whether it’s latex or oil, until it’s uniformly thick.
- Pour some of the paint into your paint tray, being careful not to spill too much.
- For solid shutters, start with the central panel and proceed outward. Paint the slats first on slatted shutters, being careful not to allow paint to pile up in the corners.
- Paint in thin layers; this procedure will take a few days regardless and hurrying to paint layer after layer will just cause the paint work to be delayed and uneven. The coatings will dry evenly and neatly if they are painted in thin layers.
- This is an optional step but sealing your shutters with a final sealant layer of either varnish or acrylic clear coat (when the paint work is finished and thoroughly set) will extend the life of your shutters even further (and looks nice, too).
- Once you’ve done these steps and the paint/sealant work is finished, dried, and cured, you can replace the shutters and enjoy!
Excellent work!


