Is the paint on your shutters looking a bit faded? Could your shutters use some tender loving care? What you may not know is that you CAN actually PAINT your shutters! Would you believe it? As well as reducing some of the wear and tear, painting your shutters will help to extend their lifespan and help them last longer. You will learn how to paint your shutters today through a truncated, step-by-step guide. It’s time to get started!
What Kind of Shutters do You Have?
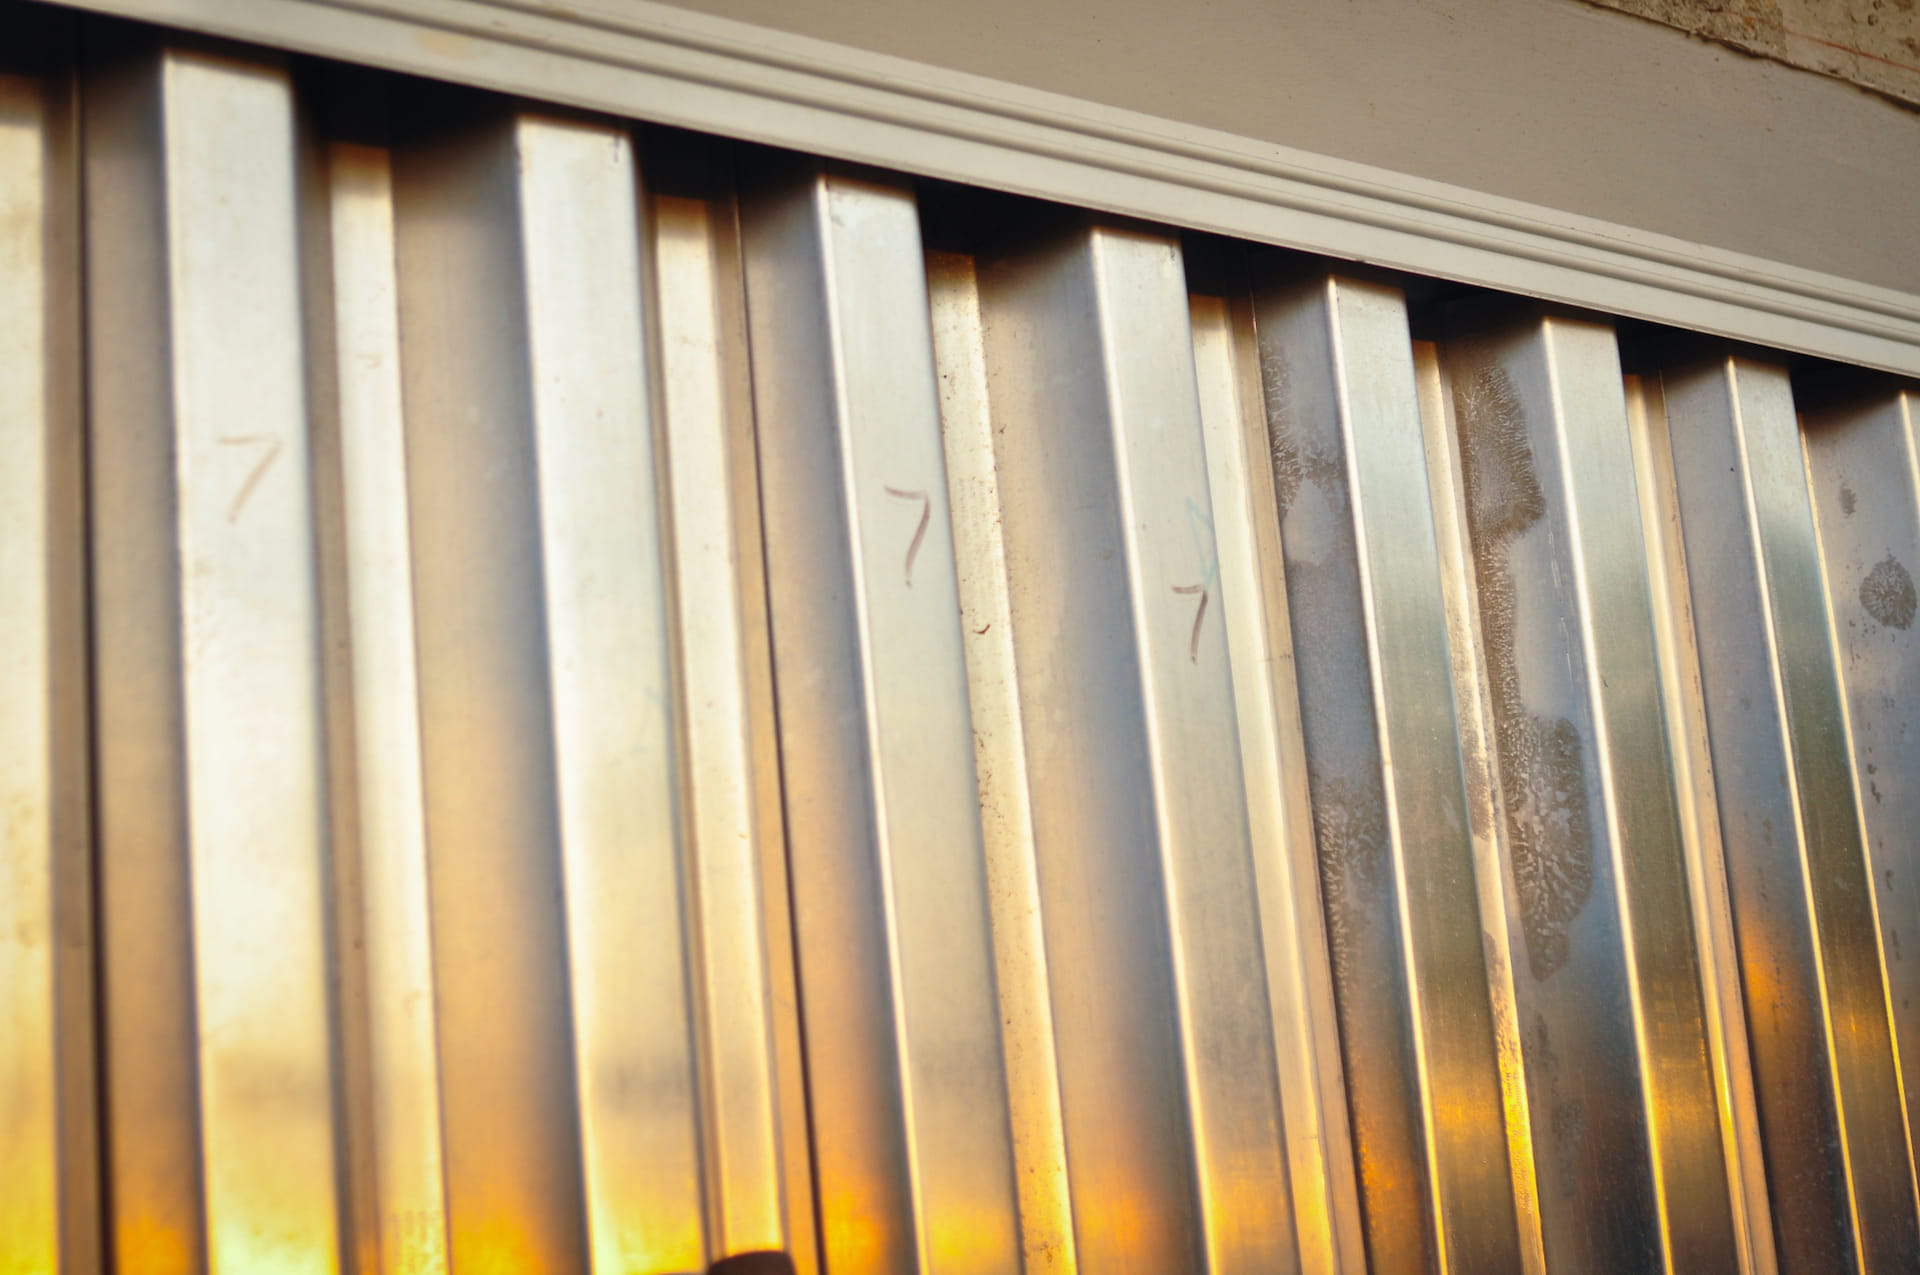
What material are my shutters made of? That would be the first question you need to ask yourself. As a result, depending on the shutter material, you will have to use a different type of paint and/or different methods. Be sure to determine the type of material your shutters are made from before you buy tools or scout for paint. This could be wood, vinyl, or plastic. The focus of this tutorial will solely be on painting METAL SHUTTERS.
Is the Removal of the Shutters a Viable Option for You?
In some cases, removing your old shutters makes the whole process a bit faster, but it isn’t always necessary. Even though it may be troublesome to remove the shutters (and then reinstall them later), the painting process itself is certainly more streamlined and efficient once they’re off; the choice is completely yours.
METAL SHUTTERS
So, have you decided on Removing the Shutters or Painting them While Still ON the Home?
For those with metal shutters, look no further! Whenever you are painting, the prep stage is of vital importance. Before you start painting, you will need to decide if you wish to remove the shutters or leave them as they are and paint them directly on the house; if you choose to keep them on, you will have to mask off any areas that you do not want painted. If you have a second (or third, etc.) story adorned with shutters, unscrewing them and painting them separately is more efficient in the long run.
Preparing the Shutters for Paint
It’s extremely important to prep the surface before painting something (shutters in this case); otherwise, the paint job may look unappealing (and may even crack and/or peel off down the road).
- In order to remove most of the old paint, use a paint scraper or chemical stripping agent. There are other options also available, which are illustrated below.
- The shutters can be sanded with sandpaper if there are any rough edges or stubborn tufts of paint left from the previous step of removing the paint. In some cases, you may also want to use a Grinder or Sandblaster to strip the remaining paint and or grind the surface down to a pain-worthy level.
- Thirdly, you will need to prime the shutters with a primer, and you want to make sure every inch of the shutters gets a coat of primer. The shutters themselves may then be gray, white, or any other color, depending on your choice of primer.
Which Paint are you going to use?
There may be a seemingly endless variety of paints available for painting your shutters, but the two best options for exterior metal shutters is 100% acrylic latex paint.
PAINTING THE SHUTTERS
Don’t rush the process; take your time and movie steadily and surely.
- Mix your paint, whether it be latex or oil, until it is even in consistency.
- Pour some of said paint into your paint tray, being sure to spill as little as possible.
- Solid shutters, begin with the center panel and work toward the outer edge. For shutters which are slatted, first paint the slats, being cautious not to allow paint build-up in the corners.
- Paint in thin layers; this process will take a few days regardless, and doing a sloppy job, such as rushing to paint layer after layer, will only end up delaying the paint job and causing uneven paint. Painting in thin layers will ensure that the coats dry evenly and cleanly.
- This is an optional step but finishing your shutters off (after the paint job itself is finished and completely cured) with a final sealant coat of either varnish or acrylic clear coat will elongate the life expectancy of your shutters even more (and looks really nice, too).
- Once these steps are complete, and the paint job/sealant job is completed, dried, and cured, you may reinstall the shutters onto your home and enjoy! Great work!
Visit Brevard Shutters Show Room
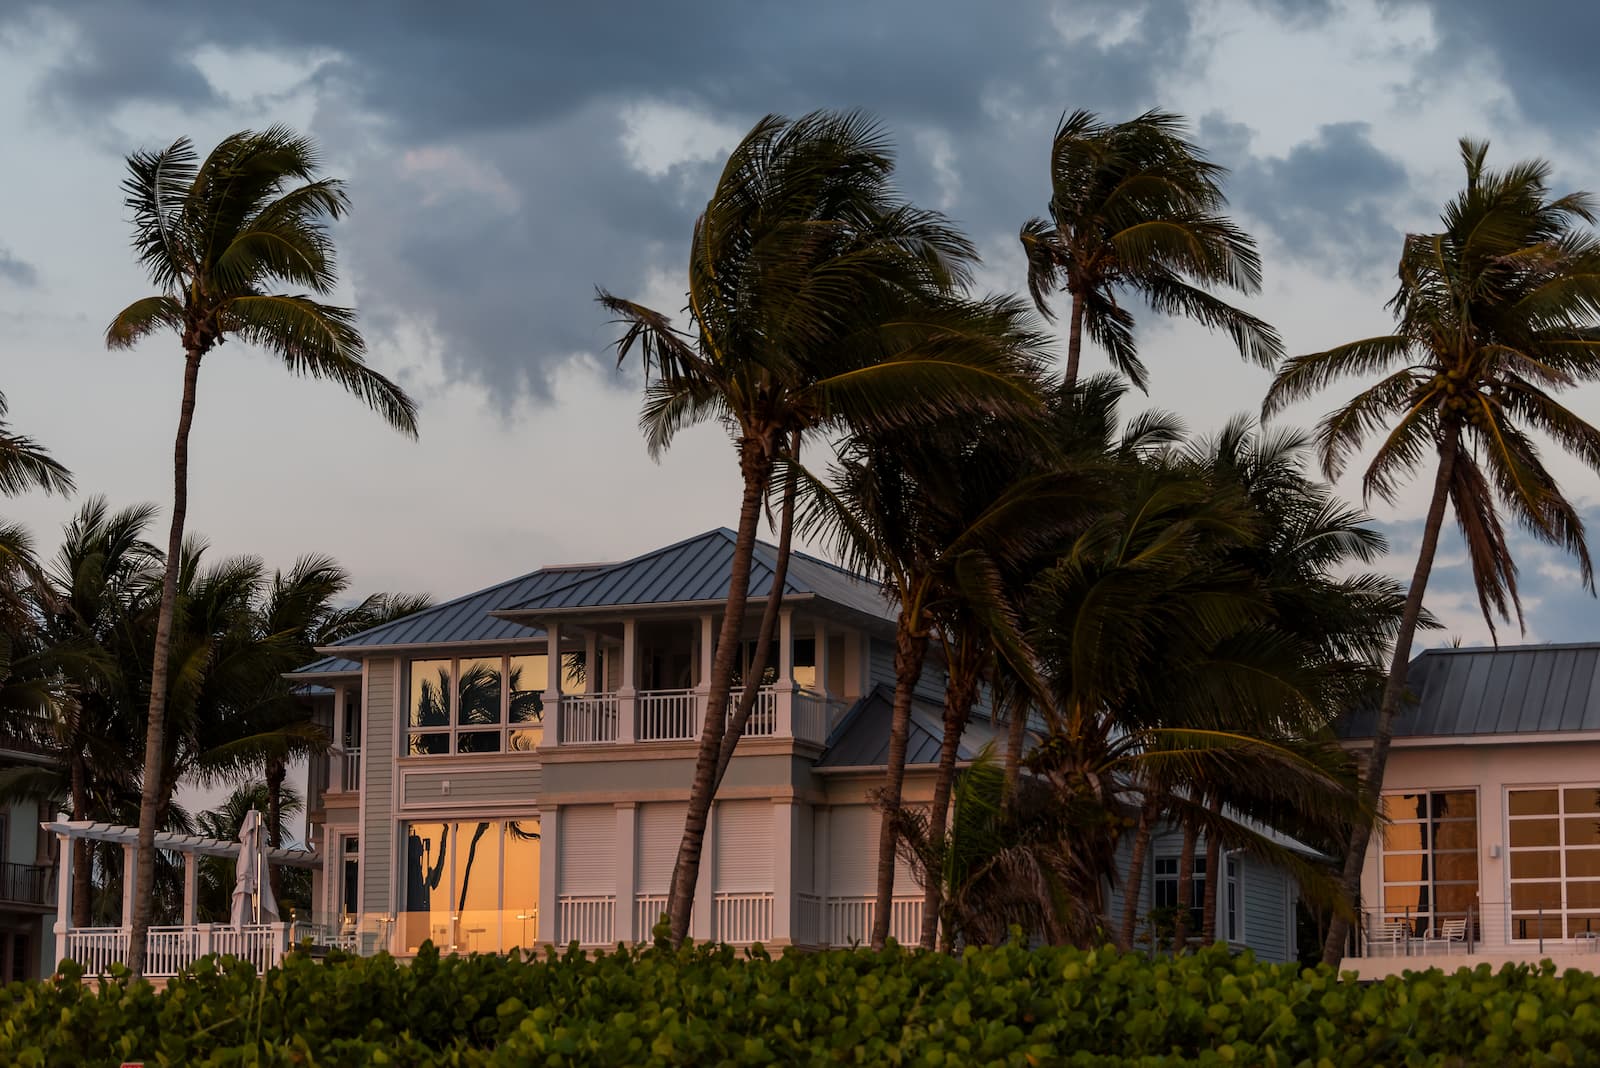
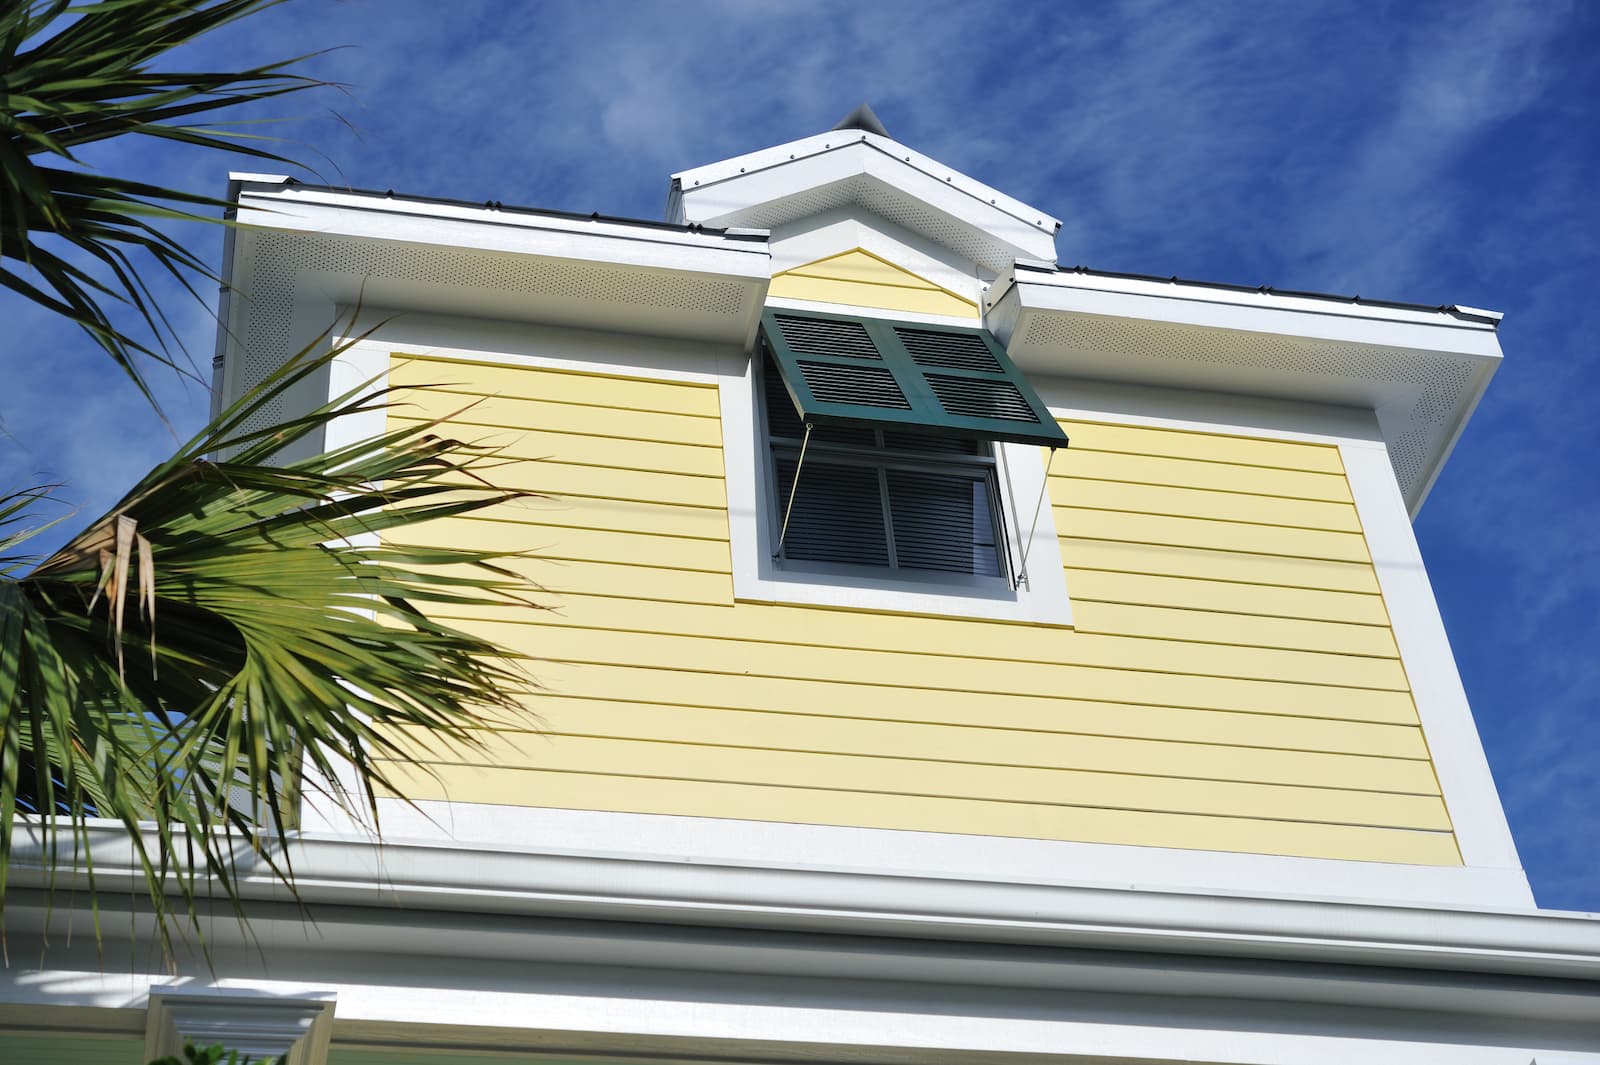
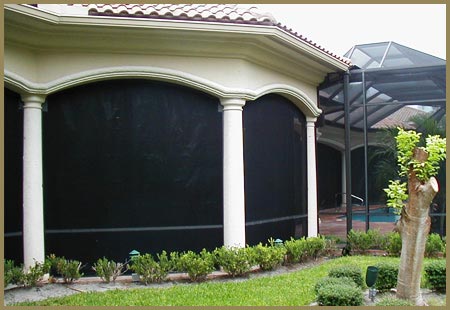
For all of your shutters needs visit Brevard Shutter in Melbourne, Florida. Our showroom features a selection of different shutter options from Colonial, to Bahama, Accordion, to Hurricane panels, and even Armor Screen. So, if you live in Brevard, Indian River, or St. Lucie you can count on us to help you with all of your shutter needs.